🐣 From Egg to Chicken: Breeding & Raising Chicks
🐣 From Egg to Chicken: Breeding & Raising Chicks
Meta Description:
Learn how to breed, hatch, and raise happy, healthy chicks in Australian conditions — including your full week-by-week care schedule, gear checklist, feeding guide, and expert Aussie climate tips.
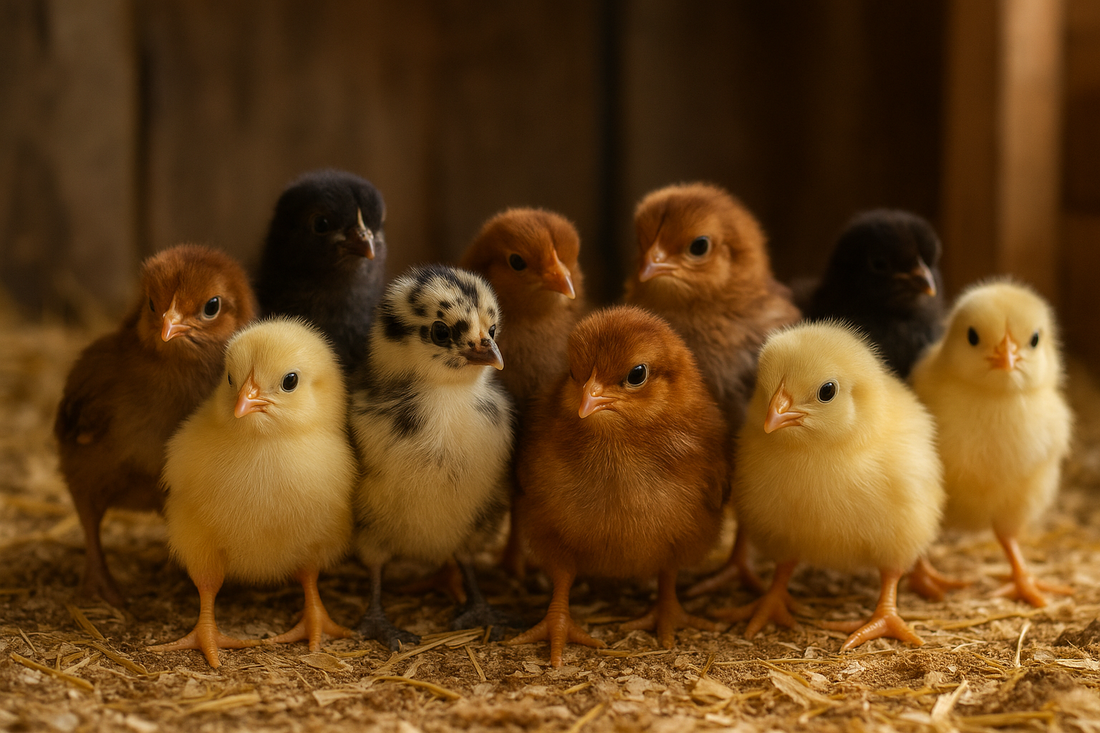
🐤 Welcome to the Flock!
Few things in life are cuter than a freshly hatched chick — tiny fluff balls peeping, wobbling, and exploring their brand-new world. But those adorable weeks are also crucial. The way you raise chicks now will shape their health, temperament, and productivity for life.
From hatching and heating to feeding and feathering, here’s your complete Australian guide to breeding and raising chicks — with a step-by-step schedule you can actually follow.
1️⃣ Setting Up for Success: Before They Hatch
Before you even hear that first “peep,” get the right setup sorted:
-
Healthy parents — strong hens and a good rooster (1 per 8–12 hens).
-
Clean nesting boxes and a quiet, protected laying area.
-
Incubator or broody hen — decide your hatching method early.
-
Hygiene matters — disinfect equipment and wash hands often.
-
Egg rotation / turning — 3–5 times a day if using an incubator.
If you’re in warmer zones (like QLD or northern NSW), monitor humidity closely — Aussie summer air can spike it fast!
2️⃣ Incubation: The Waiting Game
-
Temp: 37.5 °C steady
-
Humidity: 50–55% for 1–18 days, 65–70% from day 18 onward
-
Turning: 3–5 times daily until lockdown (day 18)
-
Hatch: Around day 21 (some variation by breed and climate)
👉 Pro tip: Place your incubator in a temperature-stable, draft-free room — not the shed or laundry. Sudden Aussie heatwaves or cool changes can spoil a hatch.
3️⃣ Brooder Setup: The Chick Nursery
Your brooder is your chicks’ world for the first several weeks.
You’ll Need:
-
Heat source: Lamp or brooder plate
-
Bedding: Pine shavings, paper towel, or straw
-
Space: ~70 × 70 cm for 20 chicks (expand as they grow)
-
Feed & water: Shallow containers (add pebbles to prevent drowning)
-
Ventilation: Gentle airflow, no drafts
Start with 33–35 °C at chick level, lowering by 2–3 °C each week until fully feathered. Watch the chicks — they’ll tell you what’s right:
-
Huddled together? Too cold.
-
Far apart, panting? Too hot.
-
Scattered and active? Perfect!
4️⃣ Feeding & Nutrition
-
Weeks 1–6: Chick starter crumble (20–22% protein)
-
Weeks 6–16: Grower feed (16–18% protein)
-
After point of lay (~18–20 weeks): Layer feed with calcium
Provide clean water, grit, and a small handful of treats like greens or mealworms only after the first couple of weeks.
Store feed in sealed containers — Aussie humidity + spilled grain = rodent party.
5️⃣ Health & Biosecurity
Chicks are fragile, so prevention is everything:
-
Keep brooders dry — moisture = disease.
-
Clean daily, replace wet litter.
-
Wash hands before and after handling.
-
Don’t mix age groups until chicks are hardy.
-
Watch for pasty butt, runny eyes, or lethargy — early signs of trouble.
-
Ask if your supplier vaccinates for Marek’s disease (common in Australia).
6️⃣ Transitioning Outdoors
By 6–8 weeks, chicks can start exploring outside on warm, dry days — supervised, of course.
-
Wait until they’re fully feathered and nights stay above ~15 °C.
-
Use a small, predator-proof pen for early outings.
-
Gradually extend their time outdoors over a week or two.
-
Once confident and robust, move them to the main coop.
7️⃣ Aussie Climate Tips
-
Hot zones (QLD, NT, WA): Keep brooders shaded and airy — overheating kills faster than chill.
-
Cold zones (VIC, TAS, SA highlands): Insulate brooders, block drafts, and extend heat use into week 6+.
-
Humid coasts: Watch for damp litter — replace often to prevent mould.
-
Bush & rural: Predator-proof everything. Rats, snakes, goannas — they all love chicks.
🗓️ The Ultimate Week-by-Week Chick Care Schedule (Australia Edition)
| Week | Temperature (°C) | Feed Type | Tasks & Milestones | Aussie Tips |
|---|---|---|---|---|
| Week 1 | 33–35 °C | Starter crumble | Set up brooder, show chicks where water is, monitor closely. | Use paper towel for first few days to prevent slipping. |
| Week 2 | 31–32 °C | Starter crumble | Watch behavior; adjust temp; introduce low perch. | Start gentle handling to tame them. |
| Week 3 | 29–30 °C | Starter crumble | Add grit if foraging; increase brooder space. | Watch droppings for early signs of coccidiosis. |
| Week 4 | 27–28 °C | Starter crumble | Introduce short supervised outdoor time (if warm/dry). | Keep shade + clean water outdoors. |
| Week 5 | 25–26 °C | Starter crumble | Begin lowering heat; chicks should have wing feathers. | Transition them onto pine shavings or straw bedding. |
| Week 6 | 23–24 °C | Grower feed | Fully feathered chicks — remove heat source gradually. | Ideal time to start integration with small flock. |
| Week 7–8 | Ambient (if >15 °C nights) | Grower feed | Move to outdoor coop/run full-time. | Secure coop: snakes, rats & cats love small birds. |
| Week 9–12 | Ambient | Grower feed | Observe social dynamics; ensure no bullying. | Start light training for coop entry at dusk. |
| Week 13–20 | Ambient | Transition to layer feed | Reaching point of lay; expect first eggs soon! | Keep calcium grit handy; clean coop weekly. |
🐔 Final Thoughts: Raising Chicks Like a Pro
Raising chicks isn’t just rewarding — it’s addictive. Once you’ve heard that first chorus of morning peeps and seen your fluffy crew grow into confident hens, you’ll understand why so many Australians fall in love with backyard poultry.
Plan ahead, stay observant, and adjust for your climate — because Aussie chicks deserve Aussie-ready care.